Entity Creation Tools
In this tutorial, we explain how to use the Entity Editor module of our creation tools. By the end of the document, you will be familiarized with:
-
Defining new entities
-
Assigning default reasoners
-
Composing entity groups out of previously created entities
-
Setting up shared blackboard access for entities inside groups
Getting started
To create a new configuration file, click on Create new project button. You can also open existing projects by clicking the Open project button.

In the top left corner, choose Entity Editor tab. Entity Editor window will show up.
Entity Editor overview
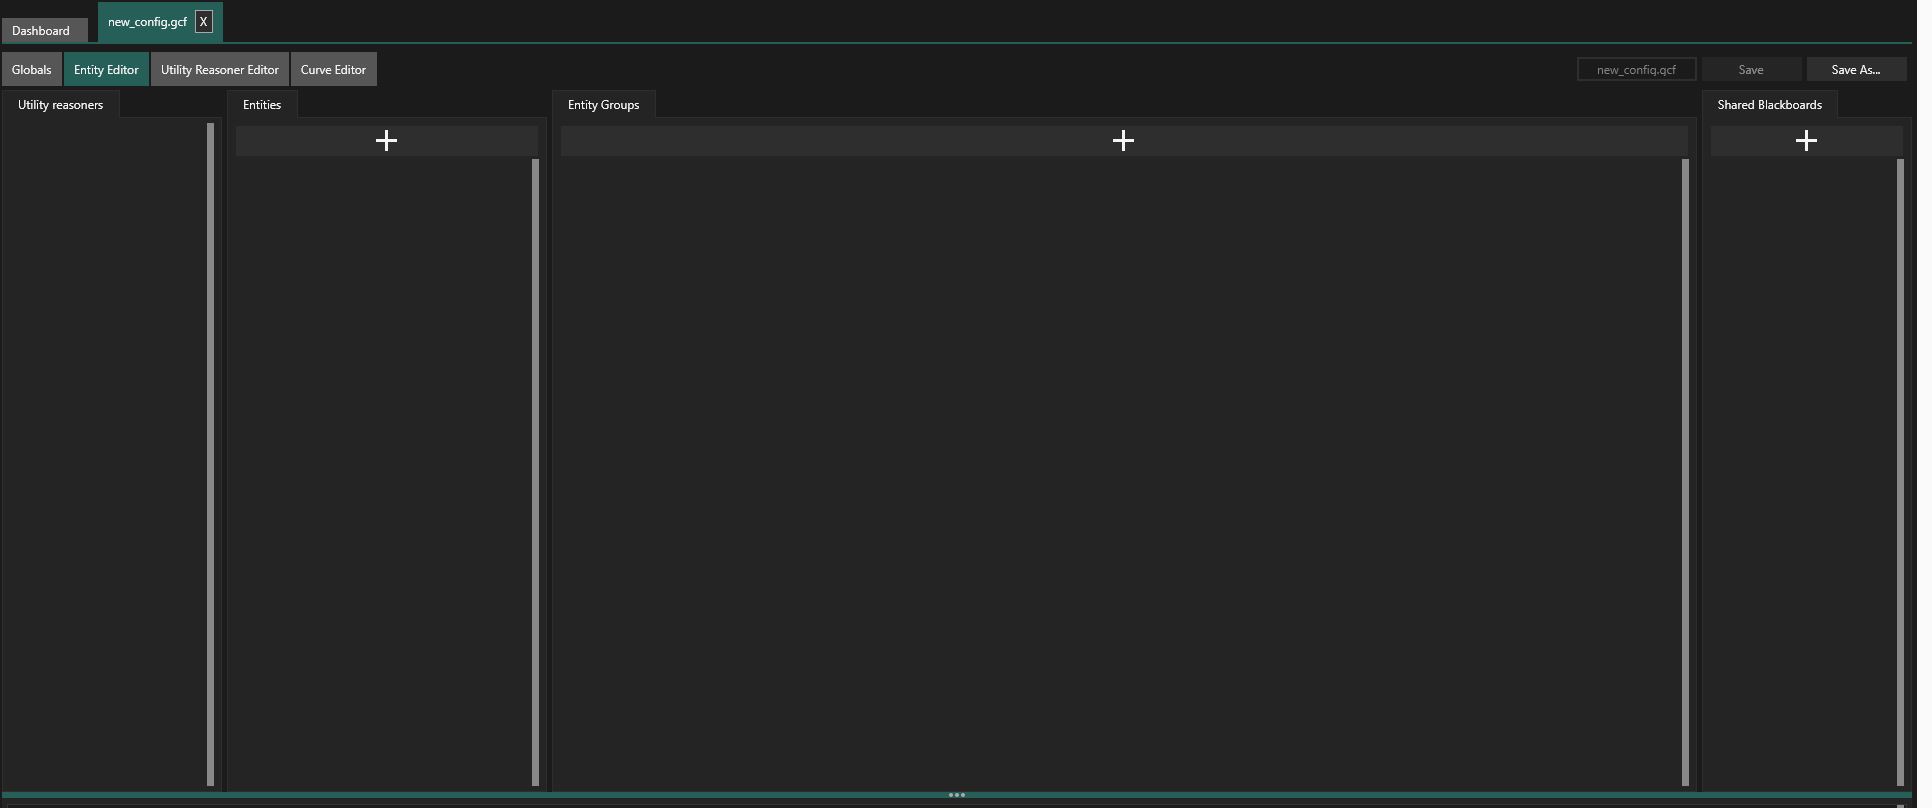
The window consists of the following panels:
-
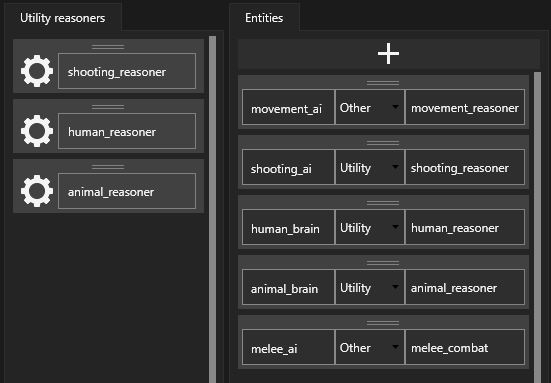
Utility Reasoner list
If any Utility Reasoner configurations are defined in the current file (see Utility Creation Tools page), they will be listed on this panel. You can assign them to entities you create as default reasoners. A more detailed description of Reasoner assignment will be given later in this tutorial.
-
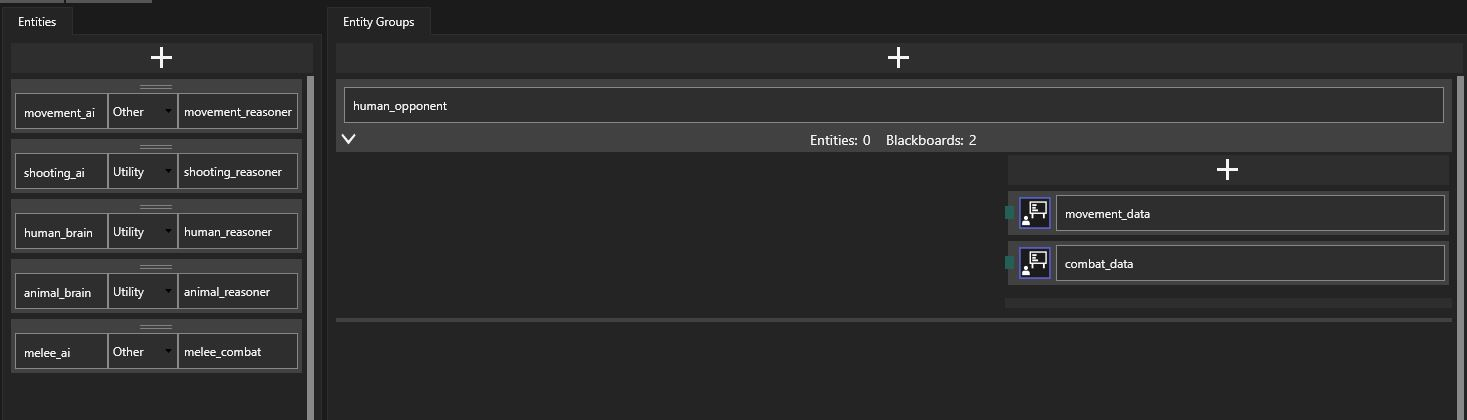
Entity list
A list of all created AI Entities with their default reasoner ids.
-
Entity Group list
-
Global shared Blackboard list
Entity setup
Adding Entities
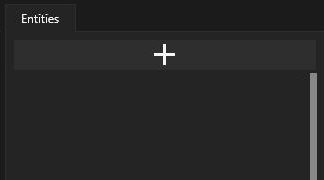
In the picture above, we can see an empty Entity list. To add a new entity, simply click the plus sign button.
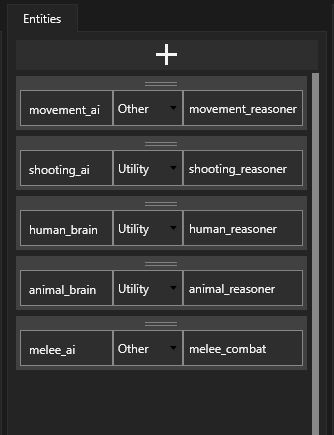
Here you can see some added and configured entities on the list.
Configuring Entities
Entity configuration data consists of three elements:
-
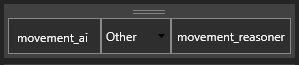
Entity id
This id is used to locate proper configuration data and create the entity at runtime.
-
Reasoner Type
You can choose one of two reasoner types: Utility and Other. If you choose Utility, you’ll be able to assign Utility Reasoner configurations to the entity. Otherwise, simply enter the reasoner’s id or leave the field empty, if you don’t want this entity to have a default reasoner.
-
Default Reasoner id
This id will be used to locate proper configuration data and create a default Reasoner for this Enity at runtime.
Entity group setup
To add an Entity Group, click on the plus sign button on the Entity Group list.

Entity Group setup panel consists of:
-
Group id
This id is used to spawn entities and blackboards at runtime.
-
Entity list
This is the list of all entities belonging to the group.
-
Blackboard list
This is the list of all shared blackboards accessed by the entities of the group. In the picture above, you can see that some blackboards have already been added.
Adding Entities
To add entities to a group, drag them from the global Entity list to the group’s Entity list. Then you can proceed to defining shared blackboard access for each entity.
Blackboard access
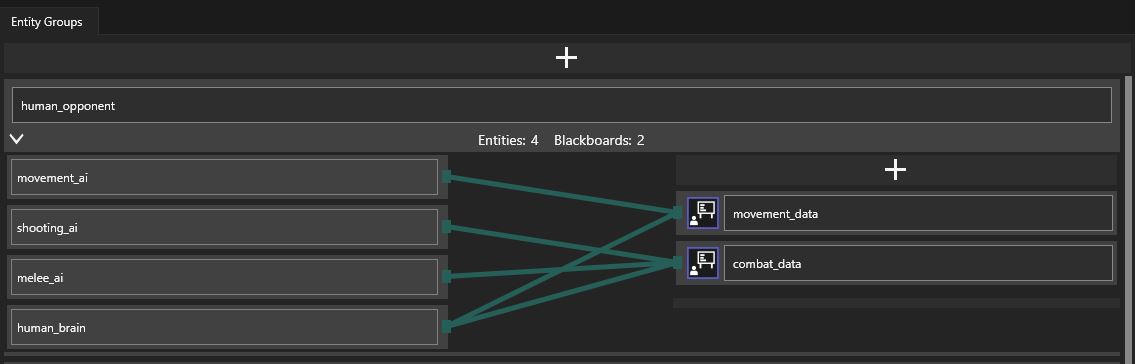
Blackboard access is defined by dragging connections (green lines) between connector slots (green rectangles) of an entity and a blackboard.
Reusing Entities
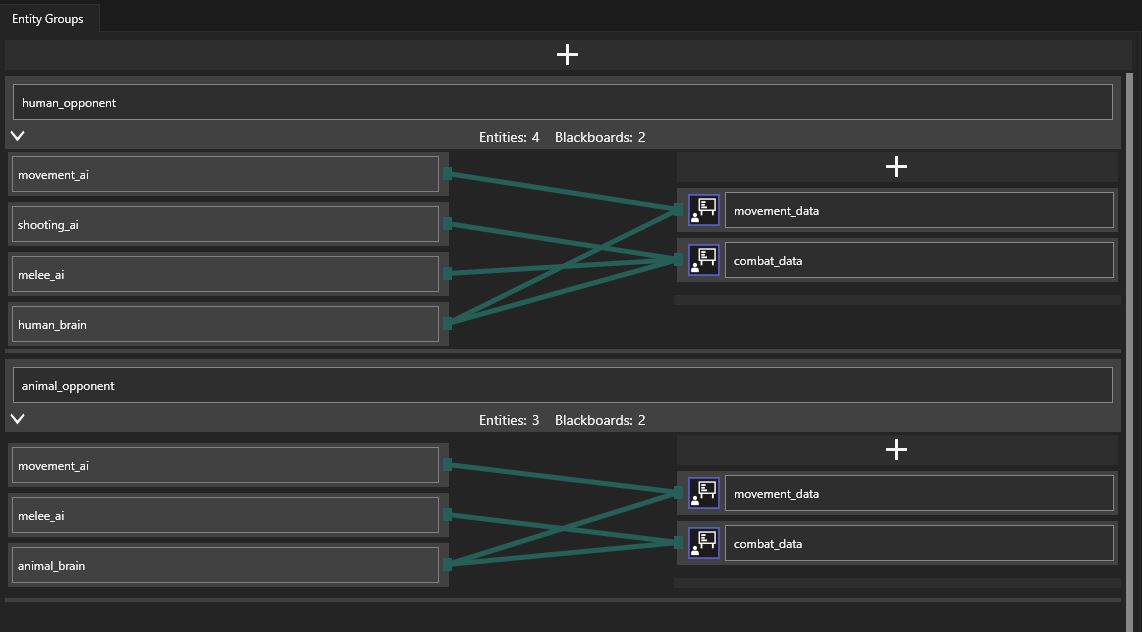
You may want to use some Entities in more than one Entity Group. Imagine you have Entity Groups representing a human and an animal opponent in your game. At the decision-making level, these opponents differ by quite a lot, but they share the same low level melee combat and movement logic. As long as the main AI Entity of both of these groups conforms to the same communication protocol (meaning: it writes to shared blackboards of the same name and provides data necessary for the low level Entities), the Entities responsible for movement and melee combat can be easily reused, as seen in the picture above.
Global shared Blackboards
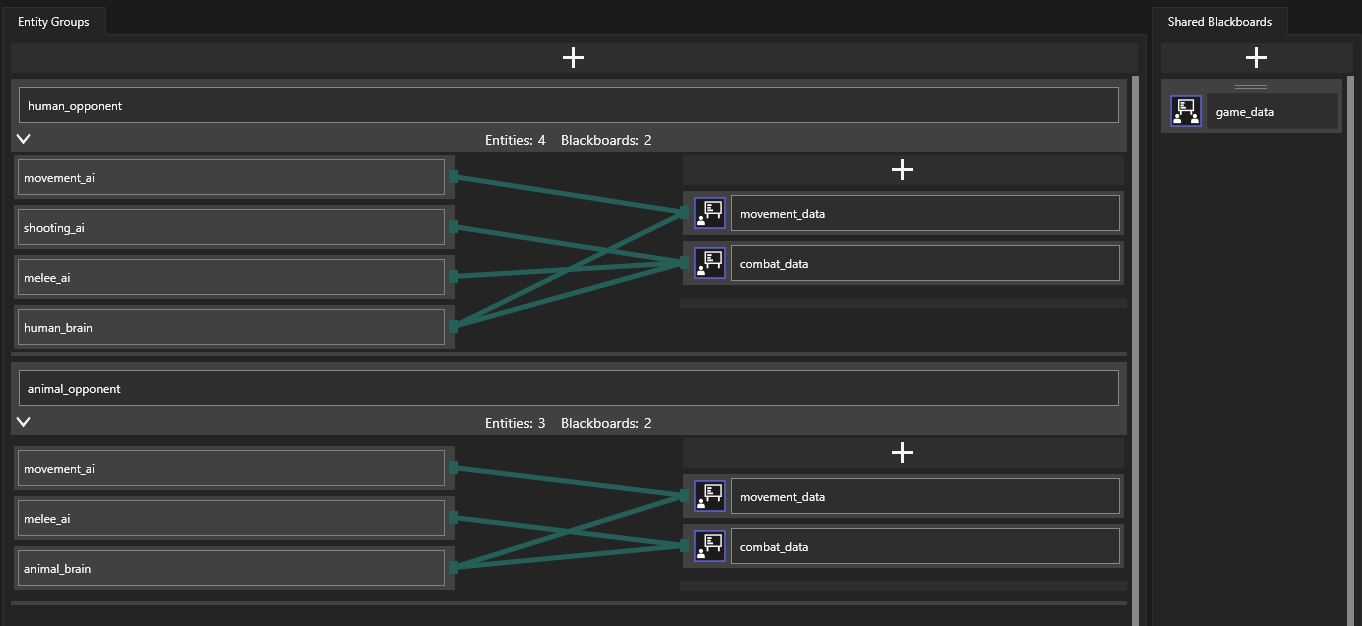
You can add global shared Blackboards by clicking on the plus sign button on the shared Blackboard list.
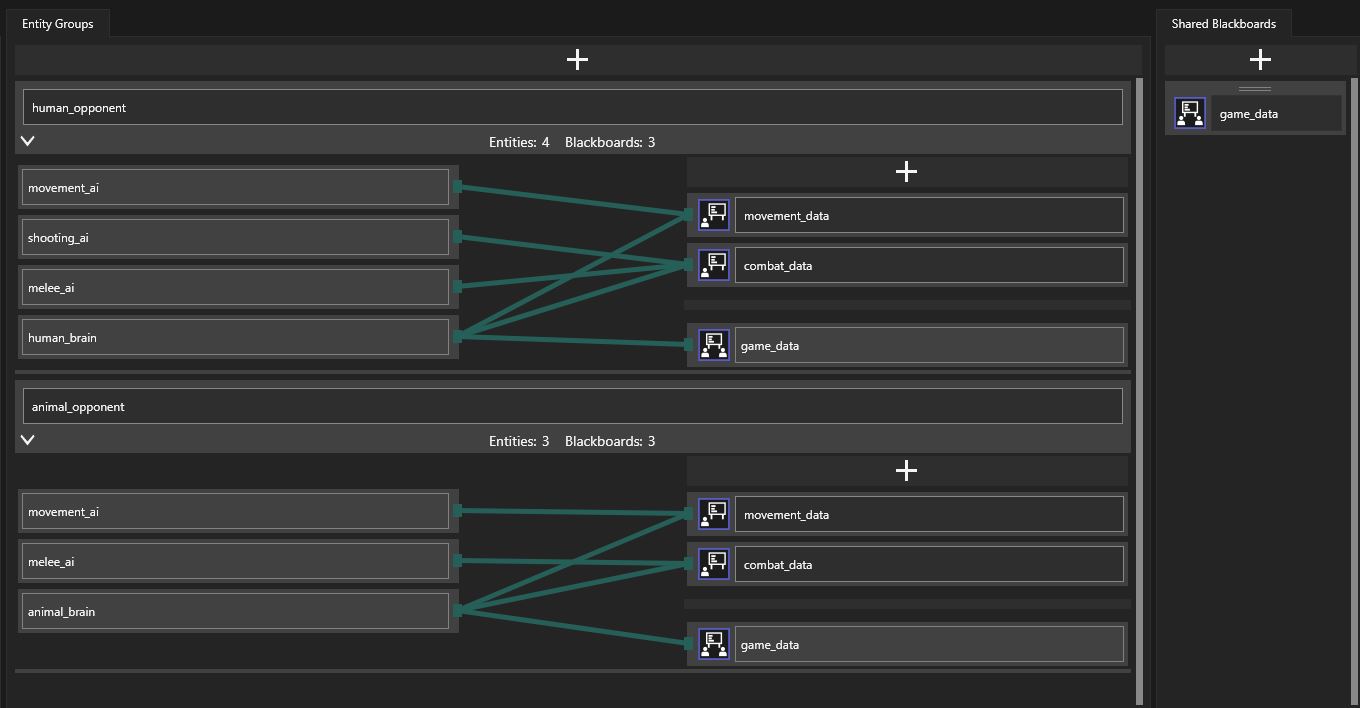
The blackboards you created can then be dragged onto entity groups. As you can see, global and local (in-group) shared blackboards are visually separated in the editor.
Further reading
To learn how to use configuration files in your code, see this page.